พรีเซ็ตแต่งรูปที่สร้างจาก Lightroom Classic รูปแบบไฟล์จะเป็น .xmp เป็นไฟล์สมัยใหม่ ตอนนี้ใช้ได้กับเฉพาะโปรแกรมคอมพิวเตอร์ ที่เป็นของแท้หรือรุ่นใหม่ล่าสุด
วิธีสร้างพรีเซ็ต Lightroom Classic

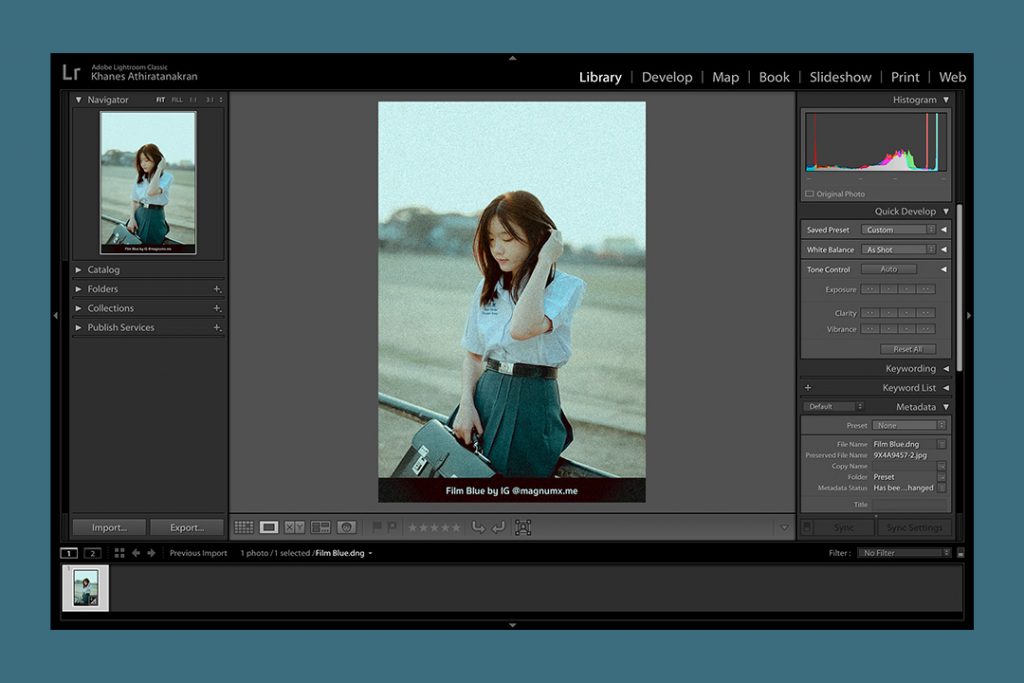
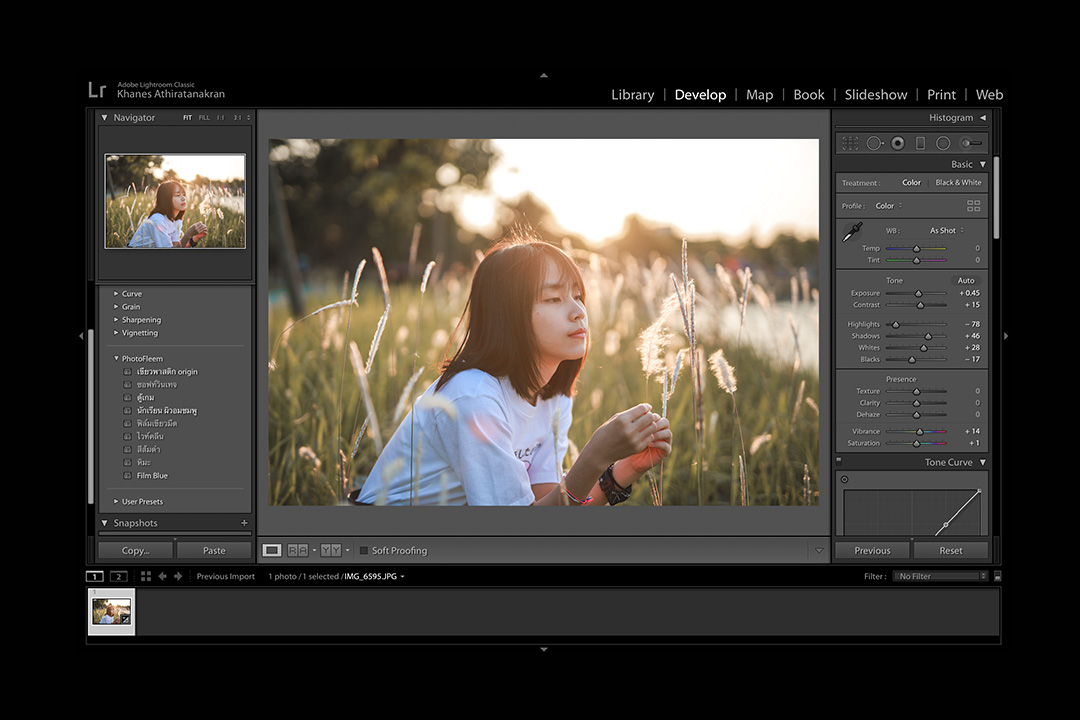
ขั้นตอนแรก แต่งรูปให้เสร็จก่อน

ต่อมาคลิกที่เมนู Develop > New Preset
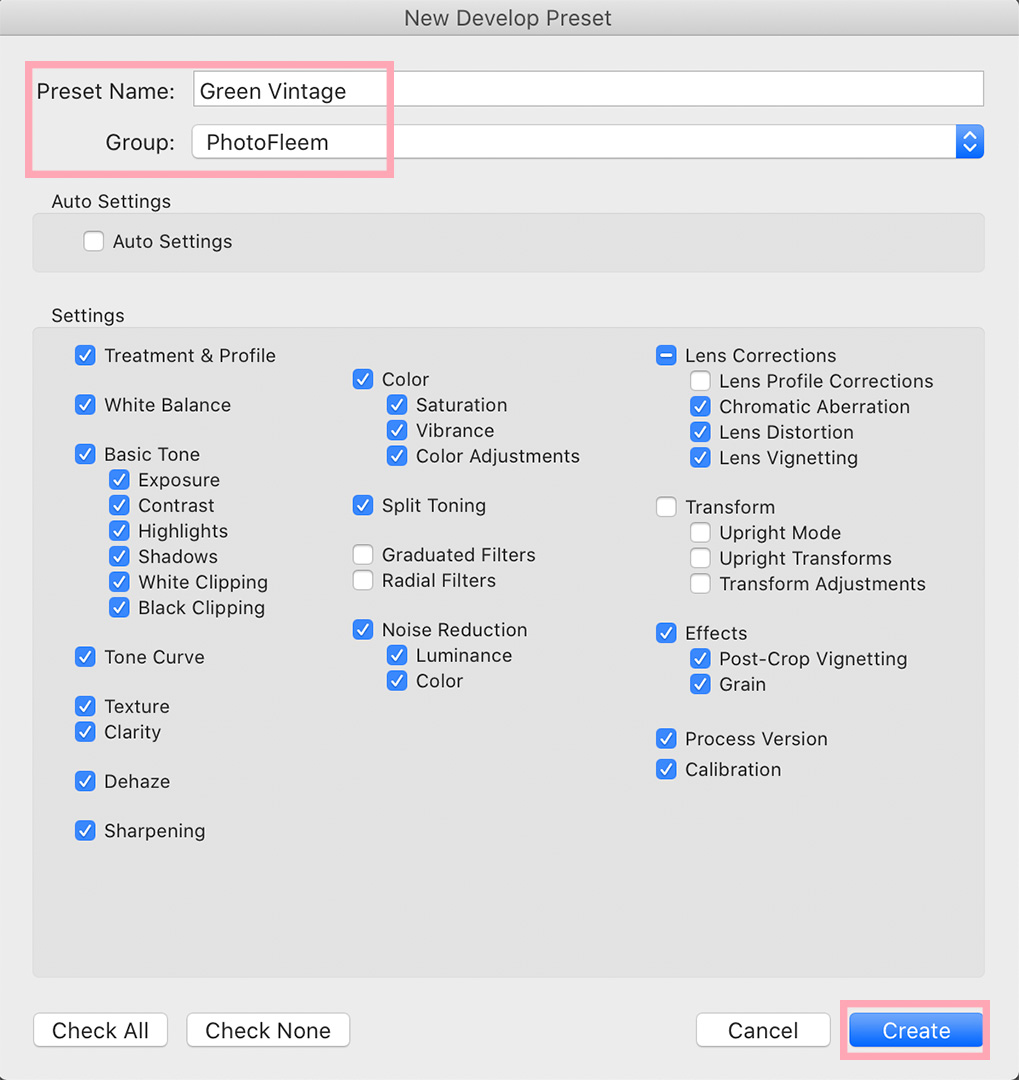
- ตั้งชื่อพรีเซ็ต และเลือกกลุ่ม (หรือสร้างกลุ่มใหม่ได้)
- เสร็จแล้วกด Create
กรณีที่ไม่ได้เลือกกลุ่ม พรีเซ็ตจะไปอยู่ใน User Preset

ดูที่แถบพรีเซ็ต (ด้านซ้าย)
คลิกขวาที่ชื่อพรีเซ็ต เลือก Show in Finder หรือ Export
ถ้าเลือก Export จะเป็นการบันทึกพรีเซ็ตไว้ในโฟลเดอร์ที่ต้องการ
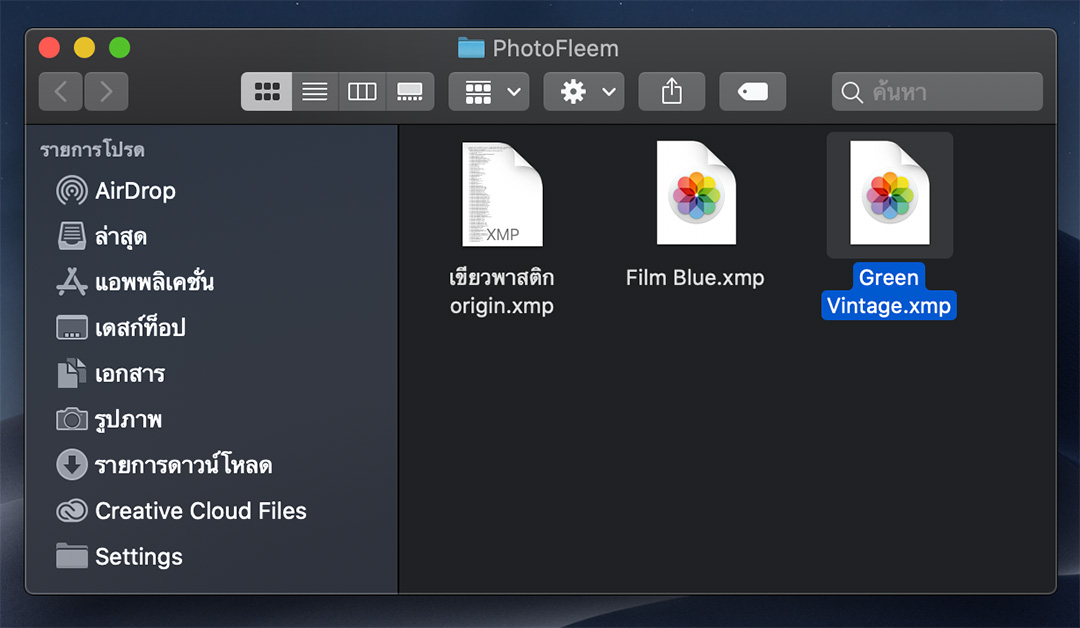
ไฟลืที่ได้ จะเป็นนามสกุล .xmp
จากนั้นก็ไปอัพโหลดขึ้น Google Drive หรือช่องทางอื่นๆ เพื่อแชร์ไฟล์ต่อได้
Facebook Comments